
mhk2 install manual
Mitsubishi Electric is a global leader in innovative electrical and electronic solutions. The MHK2 system, part of their RedLINK technology, offers advanced wireless control for HVAC systems, ensuring energy efficiency and seamless operation.
1.1 Overview of Mitsubishi Electric
Mitsubishi Electric is a renowned global leader in electrical and electronic solutions, specializing in HVAC systems, automation, and energy-efficient technologies. With a strong commitment to innovation and quality, the company has built a reputation for reliability and performance. Mitsubishi Electric’s products, including the MHK2 system, are designed to deliver advanced functionality and sustainability. Their extensive range of solutions caters to both residential and commercial applications, ensuring optimal comfort and efficiency. The company’s dedication to cutting-edge technology and user-centric designs has solidified its position as a trusted name in the industry, continually advancing the standards of modern living and working environments.
The MHK2 system is Mitsubishi Electric’s advanced RedLINK wireless remote controller kit, designed for seamless integration with their indoor HVAC units. This system offers a user-friendly interface, energy-efficient control, and wireless connectivity, enabling precise temperature management. The MHK2 comprises the MRCH2 controller, MIFH2 receiver, and MRC2 cable, providing a comprehensive solution for smart climate control. Its sleek design and intuitive features make it ideal for modern spaces, while the RedLINK technology ensures reliable communication between components. The MHK2 system is part of Mitsubishi’s commitment to delivering innovative, efficient, and easy-to-use HVAC solutions for enhanced comfort and convenience.
1.3 Importance of Proper Installation
Proper installation of the MHK2 system is crucial for ensuring reliable performance, optimal energy efficiency, and system longevity. Incorrect installation can lead to inconsistent heating or cooling, increased energy bills, and potential system damage. It prevents safety hazards, such as electrical issues or fire risks, and ensures compliance with manufacturer guidelines. Proper installation also guarantees warranty validity and enhances user satisfaction by delivering the intended functionality and comfort. Always follow Mitsubishi Electric’s installation instructions and safety protocols to achieve a safe, efficient, and durable setup. This step is foundational for maximizing the system’s benefits and maintaining its operational integrity over time.
Pre-Installation Requirements
Before installing the MHK2 system, ensure proper site preparation, gather necessary tools, and understand safety protocols and component specifications to ensure a smooth and safe installation process.
2.1 Safety Precautions
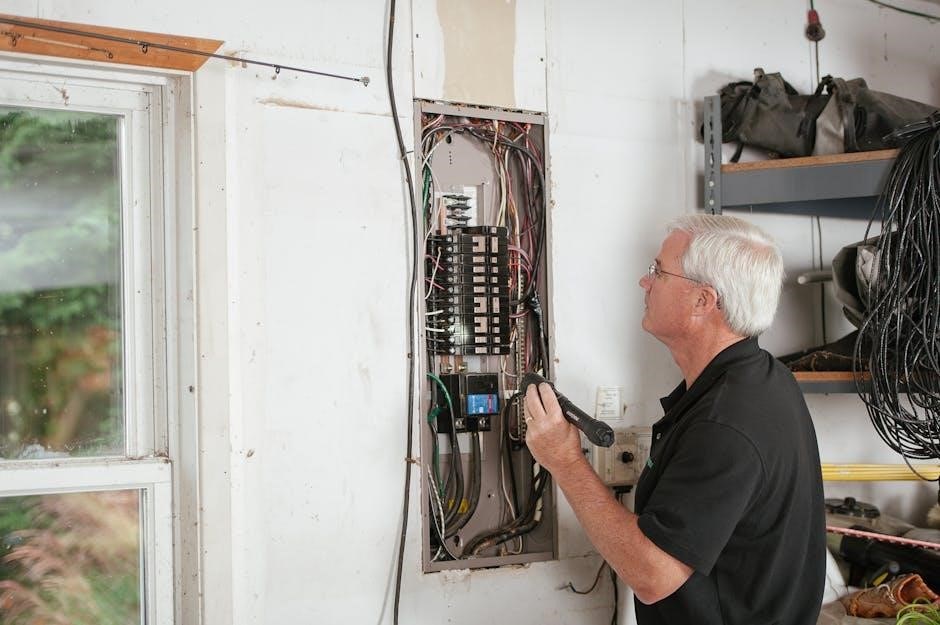
Before starting the installation, ensure all power sources are disconnected to prevent electrical shocks. Wear safety glasses and gloves to protect against potential hazards. Verify the system’s compatibility with your environment and ensure proper ventilation to avoid overheating. Use a stable ladder or platform when working at heights. Never attempt installation during bad weather or in damp conditions. Keep the area clear of flammable materials. Always follow local electrical safety codes and manufacturer guidelines. If unsure, consult a licensed professional. Failure to adhere to safety precautions may result in injury or system damage.
2.2 Tools and Materials Needed
To successfully install the MHK2 system, gather the following tools and materials: a screwdriver set (flathead and Phillips), pliers, wrench, multimeter, Allen key, drill with bits, measuring tape, level, wire strippers, crimpers, and zip ties; Materials include mounting brackets, screws, power cables, communication cables, and adhesive pads for the receiver. Ensure all components are compatible with the MHK2 system. Additional items like labels for wiring and a battery (if required) should be prepared. Always verify the compatibility of tools and materials with the system’s specifications to ensure a smooth installation process.
2.3 Understanding the MHK2 Components
The MHK2 system consists of several key components, each serving a specific function. The controller is the central unit that manages settings and connectivity. The receiver executes commands from the controller and connects to external devices. Additionally, the system may include a remote control for convenient operation. Familiarize yourself with the communication cable, power adapter, and mounting hardware. Understanding each component’s role ensures proper installation and functionality. Refer to the official Mitsubishi Electric documentation for detailed specifications and compatibility information to avoid mismatches during installation.

Installation Process
The MHK2 installation involves several key steps: unpacking and inventory, site preparation, mounting the controller, connecting components, installing the receiver, and performing final checks.
3.1 Unpacking and Inventory
Start by carefully unpacking the MHK2 system components, including the controller, receiver, mounting hardware, and cables. Verify all items against the packing list to ensure completeness.
Inspect each component for damage or defects. Handle electronic parts with care to avoid static discharge. Organize the components in a dry, secure area to prevent loss or damage.
Cross-reference the parts with the installation manual to confirm compatibility and readiness for the next steps. Proper inventory ensures a smooth installation process without delays.
3.2 Site Preparation
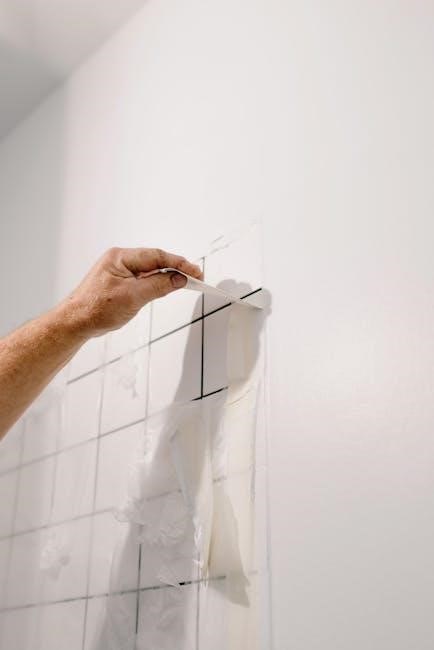
Before installing the MHK2 system, ensure the installation site is prepared. Inspect the area for obstructions, electrical connections, and environmental conditions. Verify that the location adheres to Mitsubishi Electric’s guidelines for temperature, humidity, and airflow. Ensure all electrical connections are safe and meet local regulations. Clean the area to prevent dust or debris from interfering with the system. Mark the installation points for the controller and receiver, ensuring proper alignment and accessibility. Proper site preparation is crucial for a smooth installation and optimal system performance.
3.3 Mounting the MHK2 Controller
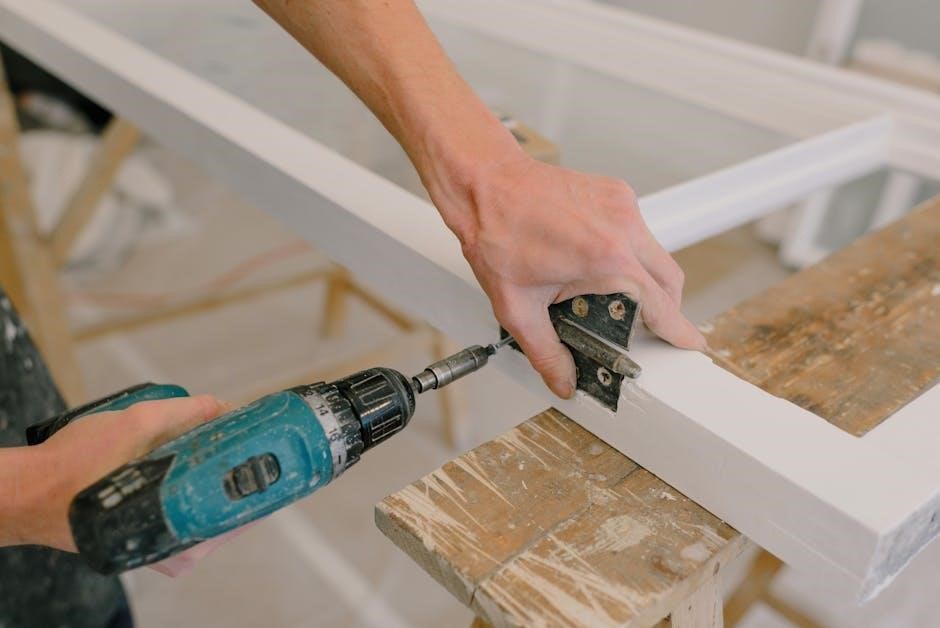
Mount the MHK2 controller on a flat, stable surface, ensuring it is level and secure. Use the provided screws or suitable fasteners for the wall or surface type. Locate the controller near a power source and away from direct sunlight or moisture. Align the mounting holes with pre-drilled templates or marks. Tighten the screws firmly but avoid over-tightening. Ensure the controller is accessible for future maintenance. Verify that all cables and wires are neatly routed and secured to prevent damage. Double-check the mounting for stability before proceeding with connections.
3.4 Connecting the MHK2 Controller
Connect the MHK2 controller to the power supply using the provided cables, ensuring polarity is correct. Attach the communication cable to the receiver, aligning the ports correctly. Secure all wires with cable ties to prevent damage. Connect any additional sensors or devices to the designated ports. Verify all connections are tight and properly seated. Refer to the wiring diagram for specific pin assignments. Power on the system and check for any error indicators. Ensure all connections are tested before proceeding to the next step. This ensures reliable operation and minimizes potential issues during use.

3.5 Installing the Receiver
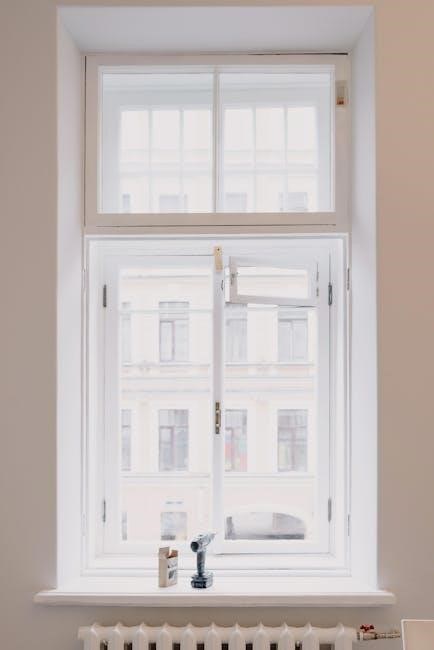
Mount the receiver in a location with optimal signal reception, avoiding obstacles and electrical interference. Secure it using the provided mounting hardware, ensuring it is level and firmly attached; Connect the receiver to the MHK2 controller using the compatible communication cable, aligning the connectors properly. Tighten all connections to prevent signal loss. Ensure the receiver is powered on and test its communication with the controller. Verify the signal strength and adjust the placement if necessary. Finally, secure any excess cable and ensure the installation meets safety and operational standards. This step is critical for reliable system performance and communication.
3.6 Final Installation Checks
After completing the installation, perform a thorough inspection to ensure all components are correctly installed and functioning. Verify that the MHK2 controller is properly mounted and powered on. Check that all connections between the controller, receiver, and other devices are secure and not loose. Test the signal strength between the controller and receiver to ensure reliable communication. Inspect the system for any visible damage or misalignment. Finally, review the installation to confirm compliance with safety guidelines and operational requirements. This step ensures the system is ready for setup and will perform optimally after programming. Proper checks now prevent future issues.

Setting Up the MHK2 Controller
This section guides you through initializing the controller, configuring settings, and ensuring proper connectivity for optimal performance and integration with other systems.
4.1 Initial Power-On and Setup
Connect the MHK2 controller to the power supply and turn it on. Follow the on-screen instructions for initial setup, including language selection, date/time configuration, and system unit preferences. Ensure all connections are secure before proceeding. Refer to the manual for specific button sequences or default settings. This step is crucial for proper system initialization and ensures compatibility with connected devices. Complete the setup wizard carefully to avoid configuration errors. Once initialized, the controller will be ready for further customization and pairing with the receiver. Proper initialization ensures smooth operation and optimal performance of the MHK2 system.
4.2 Pairing the Controller with the Receiver
To pair the MHK2 controller with the receiver, ensure both devices are powered on and within range. Press and hold the pairing button on the receiver for 3-5 seconds until the LED flashes. Then, press and hold the pairing button on the controller for 2-3 seconds. The LED on the receiver will stop flashing once paired. Confirm pairing by checking the controller’s display or listening for a confirmation tone. Ensure no other devices interfere during pairing. If pairing fails, restart both devices and repeat the process. Proper pairing ensures reliable communication between the controller and receiver, essential for system functionality.
4;3 Programming the Controller
Programming the MHK2 controller involves setting operational parameters to meet specific requirements. Access the main menu by pressing and holding the Menu button for 3 seconds. Use the navigation buttons to select desired settings, such as temperature ranges, fan speeds, or operation modes. Set schedules by assigning times and days for automatic operation. Custom settings, like adaptive learning or energy-saving modes, can also be enabled. After configuring, press the Save button to store changes. Ensure all settings are reviewed and tested to confirm proper functionality. Refer to the user manual for advanced programming options and detailed instructions.
4.4 Setting Up Schedules
Setting up schedules on the MHK2 controller allows for automated temperature control, enhancing energy efficiency. Navigate to the Schedule menu by pressing the Menu button and selecting the clock icon. Choose Add Schedule to create a new profile. Set the start and end times, desired temperature, and select the days of the week. Multiple schedules can be created for different periods. After configuring, press Save to activate. Ensure the controller is in Run Schedule mode to execute the saved settings. Regularly review and adjust schedules to optimize performance and comfort. The system will automatically adjust based on your preferences.
4.5 Adjusting Temperature Settings
Adjusting temperature settings on the MHK2 controller ensures optimal comfort and energy efficiency. Press the Up or Down arrows to increase or decrease the setpoint. The display will show the current temperature and desired setpoint. Use Manual Mode for immediate changes or Schedule Mode for pre-set adjustments. Smart Mode adapts to energy-saving patterns. Hold the arrows for rapid adjustments or press OK to confirm changes. Temperature range is 32°F to 86°F (0°C to 30°C). Ensure settings align with your schedule and preferences for consistent performance. Regularly review and update settings to maintain efficiency and comfort. The system updates instantly upon saving.
Advanced Features and Customization
Explore advanced features like RedLINK wireless technology and system integration. Customize the controller interface to suit preferences, enhancing user experience and system functionality seamlessly.
5.1 Using the RedLINK Wireless Technology
The RedLINK wireless technology enables seamless communication between the MHK2 controller and other Mitsubishi Electric devices. This wireless system ensures reliable, low-power communication, reducing the need for complex wiring. It supports up to 15 devices, allowing for flexible system expansion. The technology operates on a 868 MHz frequency, minimizing interference. Easy to integrate, RedLINK enhances system performance and user convenience. It also supports remote control and monitoring, making it ideal for modern smart home setups. This feature ensures compatibility with other Mitsubishi systems, providing a unified and efficient solution for heating and cooling management.
5.2 Integrating with Other Mitsubishi Systems
The MHK2 controller is designed to integrate seamlessly with other Mitsubishi Electric systems, ensuring a unified and efficient operation. It is compatible with Mitsubishi’s lineup of air conditioning and heating units, as well as other controllers and sensors. This integration allows for centralized control and monitoring, enhancing system performance. Users can manage multiple devices through a single interface, streamlining operations. The system also supports advanced features like energy monitoring and remote access when paired with compatible Mitsubishi products. This compatibility ensures a cohesive and powerful solution for comprehensive climate control and energy management.
5.3 Customizing the Controller Interface
Customizing the MHK2 controller interface allows users to tailor the system to their preferences and operational needs; The interface supports personalized adjustments, such as display settings, button functions, and theme selections. Users can modify the layout to prioritize frequently used features, ensuring ease of access. Additionally, the controller allows for custom notifications and alerts, enabling users to stay informed about system status and maintenance requirements. Advanced customization options, such as setting up custom scenes or scenarios, enhance the system’s flexibility. These features ensure the controller is both user-friendly and adaptable to specific applications, improving overall user satisfaction and system efficiency.

Troubleshooting Common Issues
This section addresses common problems during MHK2 installation and operation, providing practical solutions. It covers connectivity, display, and operational issues, ensuring smooth system performance and user satisfaction.
6.1 Common Installation Issues
During MHK2 installation, common issues include improper wiring connections, misalignment of sensors, and incorrect mounting of components. Ensure all wires are securely connected to the correct terminals, and sensors are aligned properly for accurate readings. Verify that the controller and receiver are mounted level and within the recommended distance to avoid signal interference. Double-check that power sources are correctly configured and that all safety precautions are followed. Addressing these issues early ensures smooth operation and prevents system malfunctions. Always refer to the manual for specific guidelines and use the correct tools to avoid damage to components.
6.2 Resolving Connectivity Problems
Connectivity issues with the MHK2 system often arise from weak wireless signals or incorrect wiring. First, ensure the receiver and controller are within the recommended range and free from physical obstructions. Restart both devices to reset the connection. Check for loose wires and verify that all cables are securely connected. If issues persist, reset the RedLINK connection by pressing and holding the reset button on both units. Ensure firmware is up-to-date, as outdated software can cause communication errors. Consult the user manual for specific reset procedures and signal strength guidelines to restore connectivity efficiently.
6.3 Addressing Display or Button Malfunctions
Display or button malfunctions on the MHK2 controller can disrupt operation. First, restart the controller by turning it off and on. Clean the display screen with a soft cloth to remove dirt or smudges. If buttons are unresponsive, check for debris and clean around the buttons. Ensure firmware is updated, as outdated versions may cause malfunctions. If issues persist, perform a factory reset by holding the reset button for 10 seconds. Consult the user manual for specific reset procedures. If problems remain, contact Mitsubishi Electric support for assistance or replacement. Regular maintenance can help prevent such issues from arising.
Safety and Maintenance
Regular maintenance ensures optimal performance and safety. Schedule periodic inspections, clean components, and follow guidelines to prevent damage and ensure reliable operation of the MHK2 system.
7.1 Regular Maintenance Tasks
Perform routine checks on sensors, wiring, and connections to ensure proper operation. Clean filters and vents to maintain airflow and prevent overheating. Inspect battery levels and replace as needed. Check for firmware updates and install the latest version. Regularly review and adjust settings to maintain efficiency. Ensure all components are securely fastened and free from dust. Refer to the manual for specific maintenance schedules and guidelines to prolong system lifespan and performance. Always follow safety protocols during maintenance to avoid damage or injury.
7;2 Replacing Batteries
To replace batteries in the MHK2 controller, first, power it off; Remove the rear cover to access the battery compartment. Use AAA alkaline batteries, ensuring correct polarity. Replace old batteries with new ones, then reassemble the cover. Dispose of old batteries responsibly. After replacement, turn the controller on and check the LCD for proper function. If the receiver was disconnected, re-pair it following the pairing procedure. Regular battery replacement prevents system downtime and ensures reliable operation. Always use recommended battery types to maintain performance and warranty validity.
7.3 Cleaning the Controller
To clean the MHK2 controller, turn it off and unplug it. Use a soft, dry cloth to wipe the exterior, removing dust or debris. For stubborn stains, dampen the cloth slightly with distilled water, but avoid liquid contact with openings or buttons. Clean the display with an anti-static screen cleaner and a microfiber cloth. Avoid harsh chemicals, abrasives, or aerosol sprays, as they may damage the finish or harm components. Regular cleaning prevents dust buildup and ensures optimal performance. Always follow Mitsubishi’s guidelines for cleaning to maintain warranty validity and system integrity.
7.4 Electrical Safety Guidelines
Always disconnect the MHK2 controller from the power supply before performing maintenance. Ensure all circuits are de-energized to prevent electric shock. Use properly rated tools and avoid contact with live electrical components. Ground yourself to prevent static discharge, which could damage sensitive electronics. Never bypass safety features or override protective devices. Follow local electrical codes and standards during installation or repairs. Keep the controller away from water and moisture to avoid short circuits. Mitsubishi Electric recommends consulting a licensed electrician for any complex wiring tasks to ensure compliance with safety regulations and system reliability.

Compliance and Regulations
This section outlines the compliance and regulatory requirements for the MHK2 system, ensuring adherence to industry standards and environmental practices. Proper disposal of components is essential.
8.1 FCC Compliance
The MHK2 system is designed to comply with FCC regulations, ensuring minimal radio frequency interference. It adheres to Part 15 of the FCC rules, which govern the use of low-power radio frequency devices. Proper installation and operation of the system are crucial to maintaining compliance. Users must avoid modifying the device, as this could void FCC compliance and lead to legal penalties. Additionally, the system should only be operated as described in the user manual to ensure adherence to regulatory standards and prevent interference with other electronic devices. Compliance ensures safe and reliable operation within U.S. regulatory frameworks.
8.2 CE Marking and European Compliance
The MHK2 system is CE marked, ensuring compliance with European Union directives for health, safety, and environmental protection. It meets the requirements of the Low Voltage Directive (LVD) and the Electromagnetic Compatibility Directive (EMC). Proper installation, as outlined in this manual, is essential to maintain conformity. Users must not modify the device, as this could invalidate the CE marking. Compliance ensures the system operates safely and efficiently within European regulatory standards. Adherence to these standards is mandatory for sale and operation in the European Economic Area, guaranteeing reliability and environmental responsibility.
8.4 Environmental Considerations
The MHK2 system is designed with environmental sustainability in mind. It incorporates energy-efficient technology to minimize power consumption and reduce carbon footprint. Proper disposal of packaging materials and outdated components is essential to comply with environmental regulations. Users are encouraged to enable eco-mode settings to optimize energy usage. Regular maintenance ensures the system operates efficiently, reducing unnecessary energy waste. Mitsubishi Electric promotes environmentally responsible practices, and the MHK2 system aligns with these values. Adhering to these guidelines supports global efforts to reduce environmental impact while maintaining system performance and reliability.
The MHK2 system installation is now complete. Ensure all settings are verified for optimal performance. Contact Mitsubishi Electric support for any further assistance or inquiries.
9.1 Final Checks and Verification
After completing the installation, perform a thorough verification of the MHK2 system. Ensure all connections are secure and functioning correctly. Test the controller’s operation, including temperature adjustments and schedule settings. Verify that the receiver is properly paired and responding to commands. Check that all safety features are enabled and functioning as intended. Review the installation against the manual to confirm compliance with guidelines. Conduct a final system test under normal operating conditions to ensure reliability. Address any issues promptly and consult the user manual or contact support if needed. Proper verification ensures optimal performance and user satisfaction.
9.2 User Satisfaction and Feedback
Ensuring user satisfaction is crucial after installing the MHK2 system. Verify that the system meets the user’s expectations by reviewing its performance and ease of use. Provide clear instructions and demonstrate key features to ensure familiarity. Collect feedback to identify any areas for improvement or additional support needs. Address any concerns promptly to enhance user experience. Positive feedback confirms successful installation, while constructive input helps refine future processes. Maintaining open communication ensures long-term satisfaction and proper system utilization. User satisfaction is the ultimate goal of a well-executed installation process.
References and Further Reading
Consult Mitsubishi Electric’s official documentation for detailed technical specifications and guidelines. Visit their website or authorized distributors for additional resources and support materials. Online forums and tutorials also provide practical insights and troubleshooting tips from experienced users and professionals.
10.1 Mitsubishi Electric Official Documentation
The official Mitsubishi Electric documentation for the MHK2 system is the primary resource for installation and operation. It includes detailed installation manuals, technical specifications, and user guides. These documents ensure compliance with safety standards and provide best practices for optimal performance. Available on Mitsubishi Electric’s official website or through authorized distributors, the documentation is regularly updated to reflect system enhancements. For specific queries, refer to the MHK2 installation manual, which covers all aspects of setup and configuration. Additionally, the official documentation includes troubleshooting guides and warranty information, making it an essential resource for installers and users alike. Contact Mitsubishi Electric support for customized assistance.
10.2 Online Resources and Tutorials
Beyond official documentation, various online resources and tutorials provide additional guidance for installing and using the MHK2 system. Websites like YouTube offer video tutorials demonstrating step-by-step installation processes. Forums and community boards, such as Reddit or HVAC-specific groups, share user experiences and troubleshooting tips. Additionally, Mitsubishi Electric’s official website hosts interactive guides and FAQs. Online courses on platforms like Udemy may cover advanced features of the MHK2 system. These resources complement the official manual, offering visual and practical insights for installers and users. They are particularly useful for those seeking hands-on examples or alternative explanations to enhance their understanding.
10.3 Contact Information for Support
For assistance with the MHK2 system, Mitsubishi Electric provides dedicated customer support. The main support hotline can be reached at 1-800-627-8352, available Monday through Friday during business hours. Additionally, users can email meas.support@meus.mitsubishielectric.com for technical inquiries or troubleshooting. The official Mitsubishi Electric website also offers a Support page with regional office contact details, ensuring localized assistance. For urgent issues, live chat is available on their website. These resources ensure comprehensive support for installers and users, addressing installation, maintenance, and operational concerns effectively.